Mini Homelab Rack
When I made a move for a new job I needed to be strategic about what I was bringing to my much smaller new apartment, and one of the first things that got axed was my 24U rack. Being able to have a full rack really scratched the parts of my sysadmin brain, and I wanted to find a way to have a mini rack in my new place. I had a few requirements:
- Small and easy to source parts to build
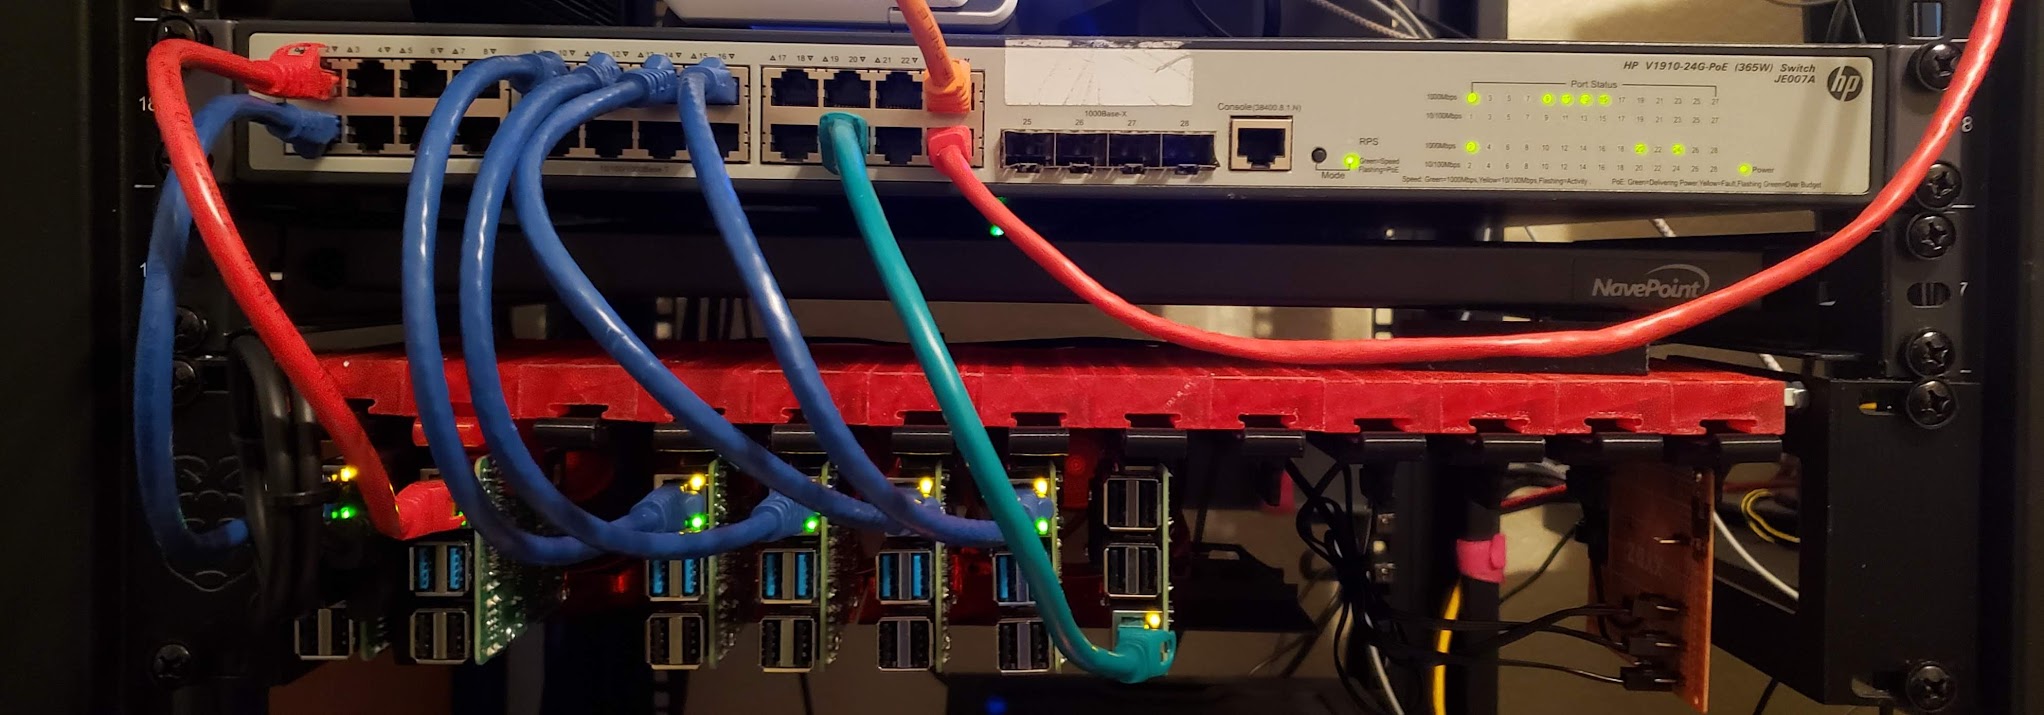
- Hold my Unify USG, switches, and Raspberry Pis
- Look good as it will be in the background of all my online meetings
Initial Idea #
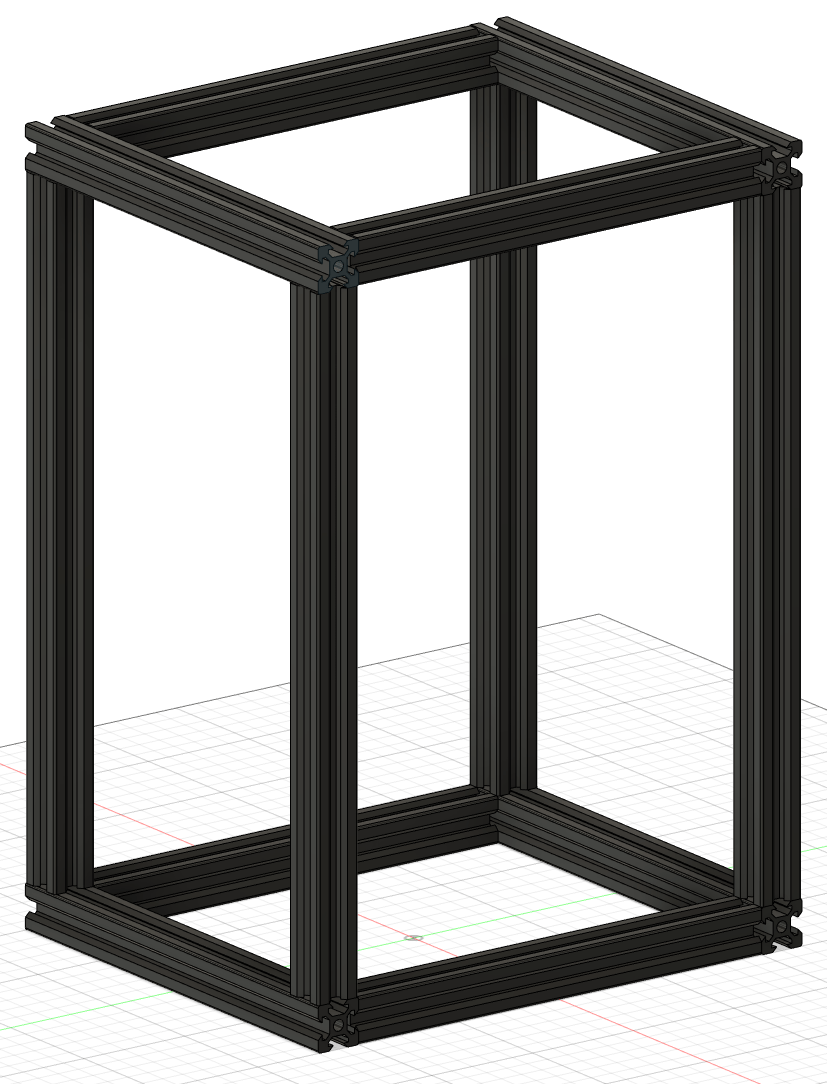
I knew from the start I would want to be able to re-use one the method I used on my 24U rack to mount my Raspberry Pis: the Raspberry PI 4 2U rack-mount Mark III by Ivan Kuleshov (merocle). I had a bunch of left over 2020 extrusions from another project and had just enough to build a frame that just perfectly fit the width of all the appliances that I wanted to mount, as well as enough room to have room for 5 of the Raspberry Pi sled mounts.
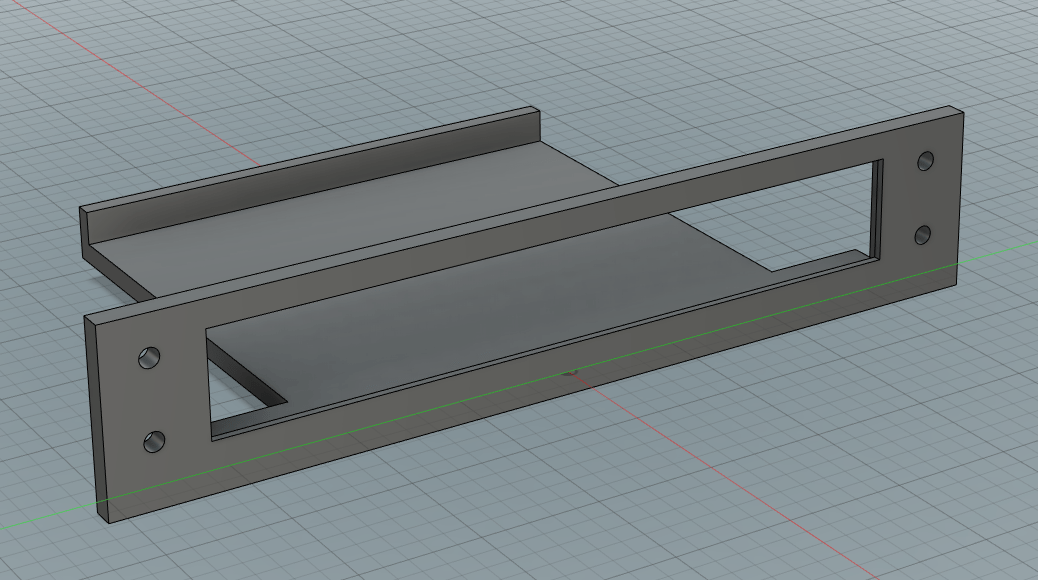
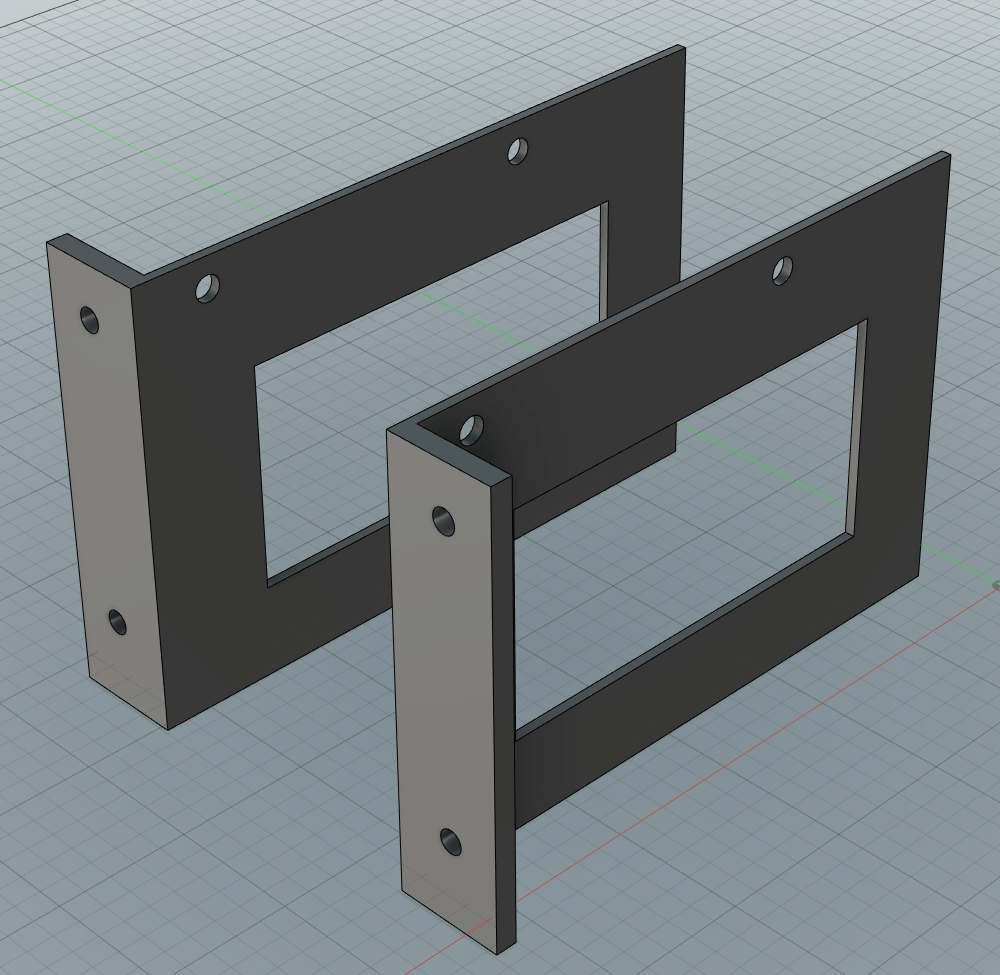
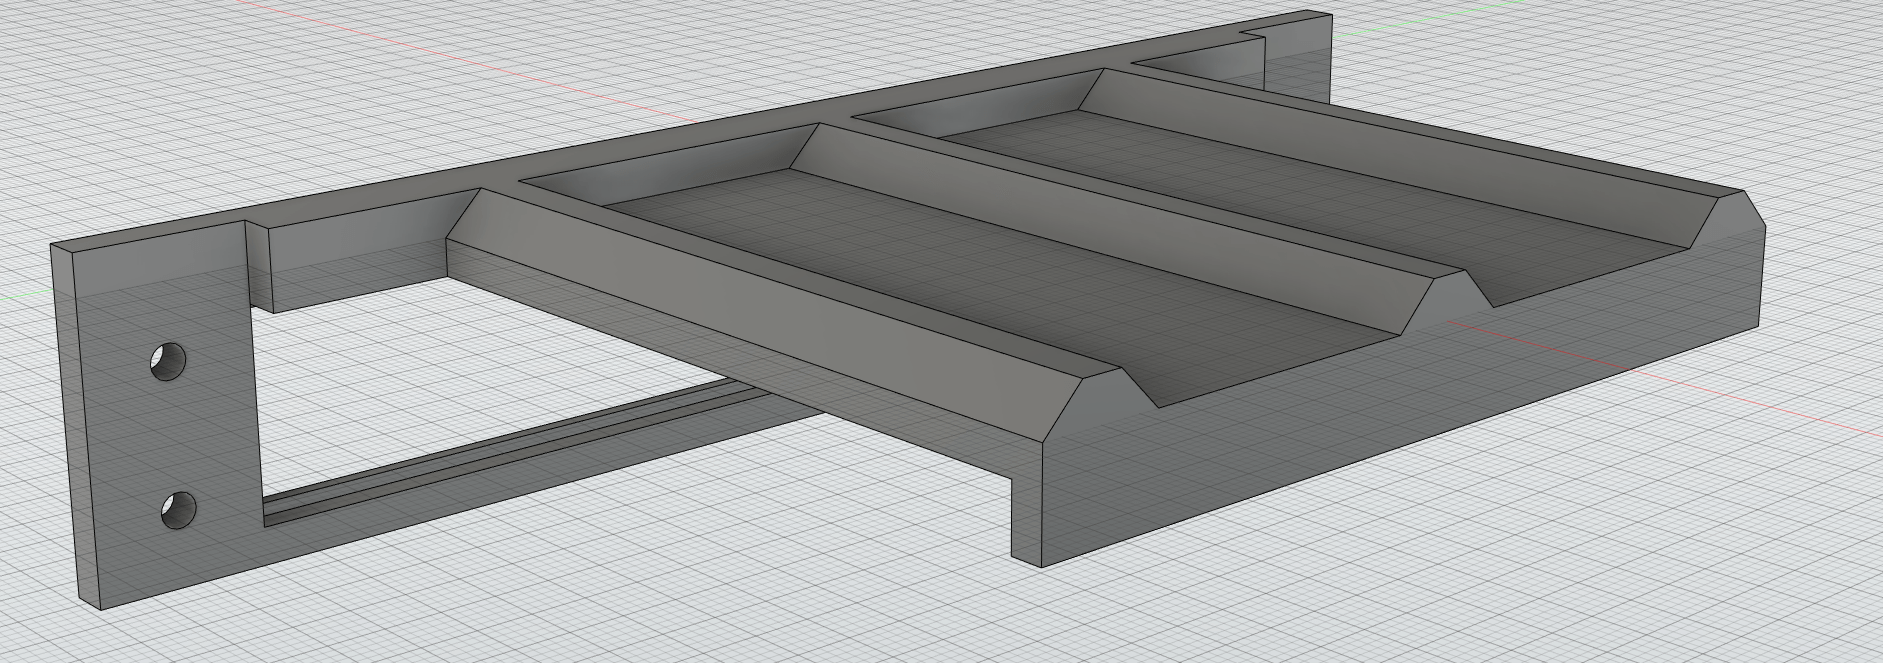
After firing up Fusion 360, I modeled up some very quick mounts for the Unifi USG, NETGEAR switches, and some new ears for the Raspberry Pi rack-mount sleds.
 |  |  |
|---|
Putting it all together #
The initial prototype for the appliance mounts were printed with the last of some of my HTPLA+ Geomagnetic Mauve from Fusion Filaments. After assembling I was super happy with how everything fit together. I was going to let the prototype sit for a few days to make sure everything was working as expected, but those few days turned into a few months - which ended up being very important. Below is the comparison between the initial build and what happened over the next 8 months:
| Initial Build | After 8 months |
|---|---|
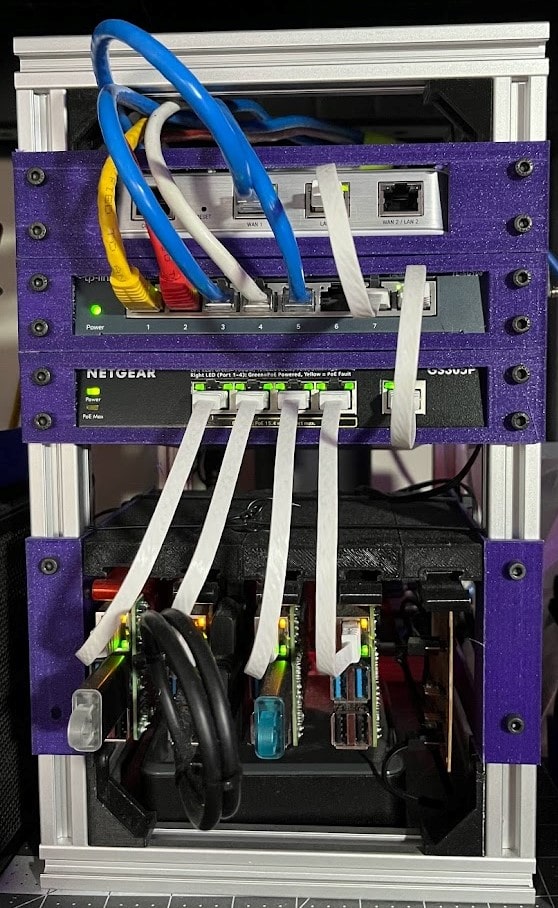 | 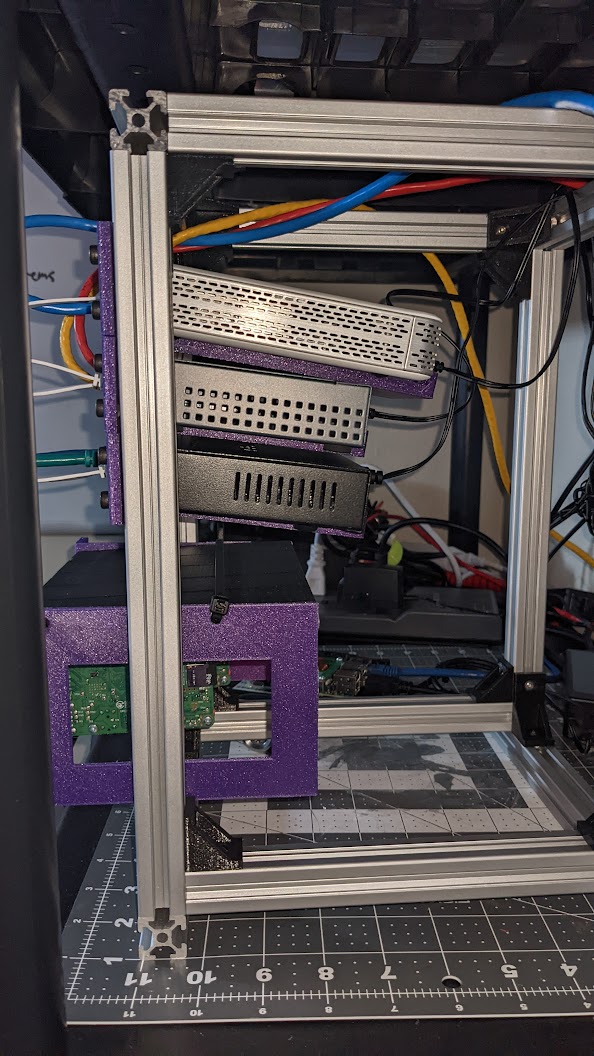 |
Design Refinement #
I believe this significant sag in the mounts was a mixture of a poor initial design, and some heat induced sag after a few months of use. I ended up re-designing the mounts for the USG and switches by adding in a ribbed underbody and extending the bottom, as well as adding some active cooling with a fan to the USG and PoE switches which seemed to generate the most heat. I printed the new parts with 4 walls / 40% infill to add to the rigidity.
Final Build #
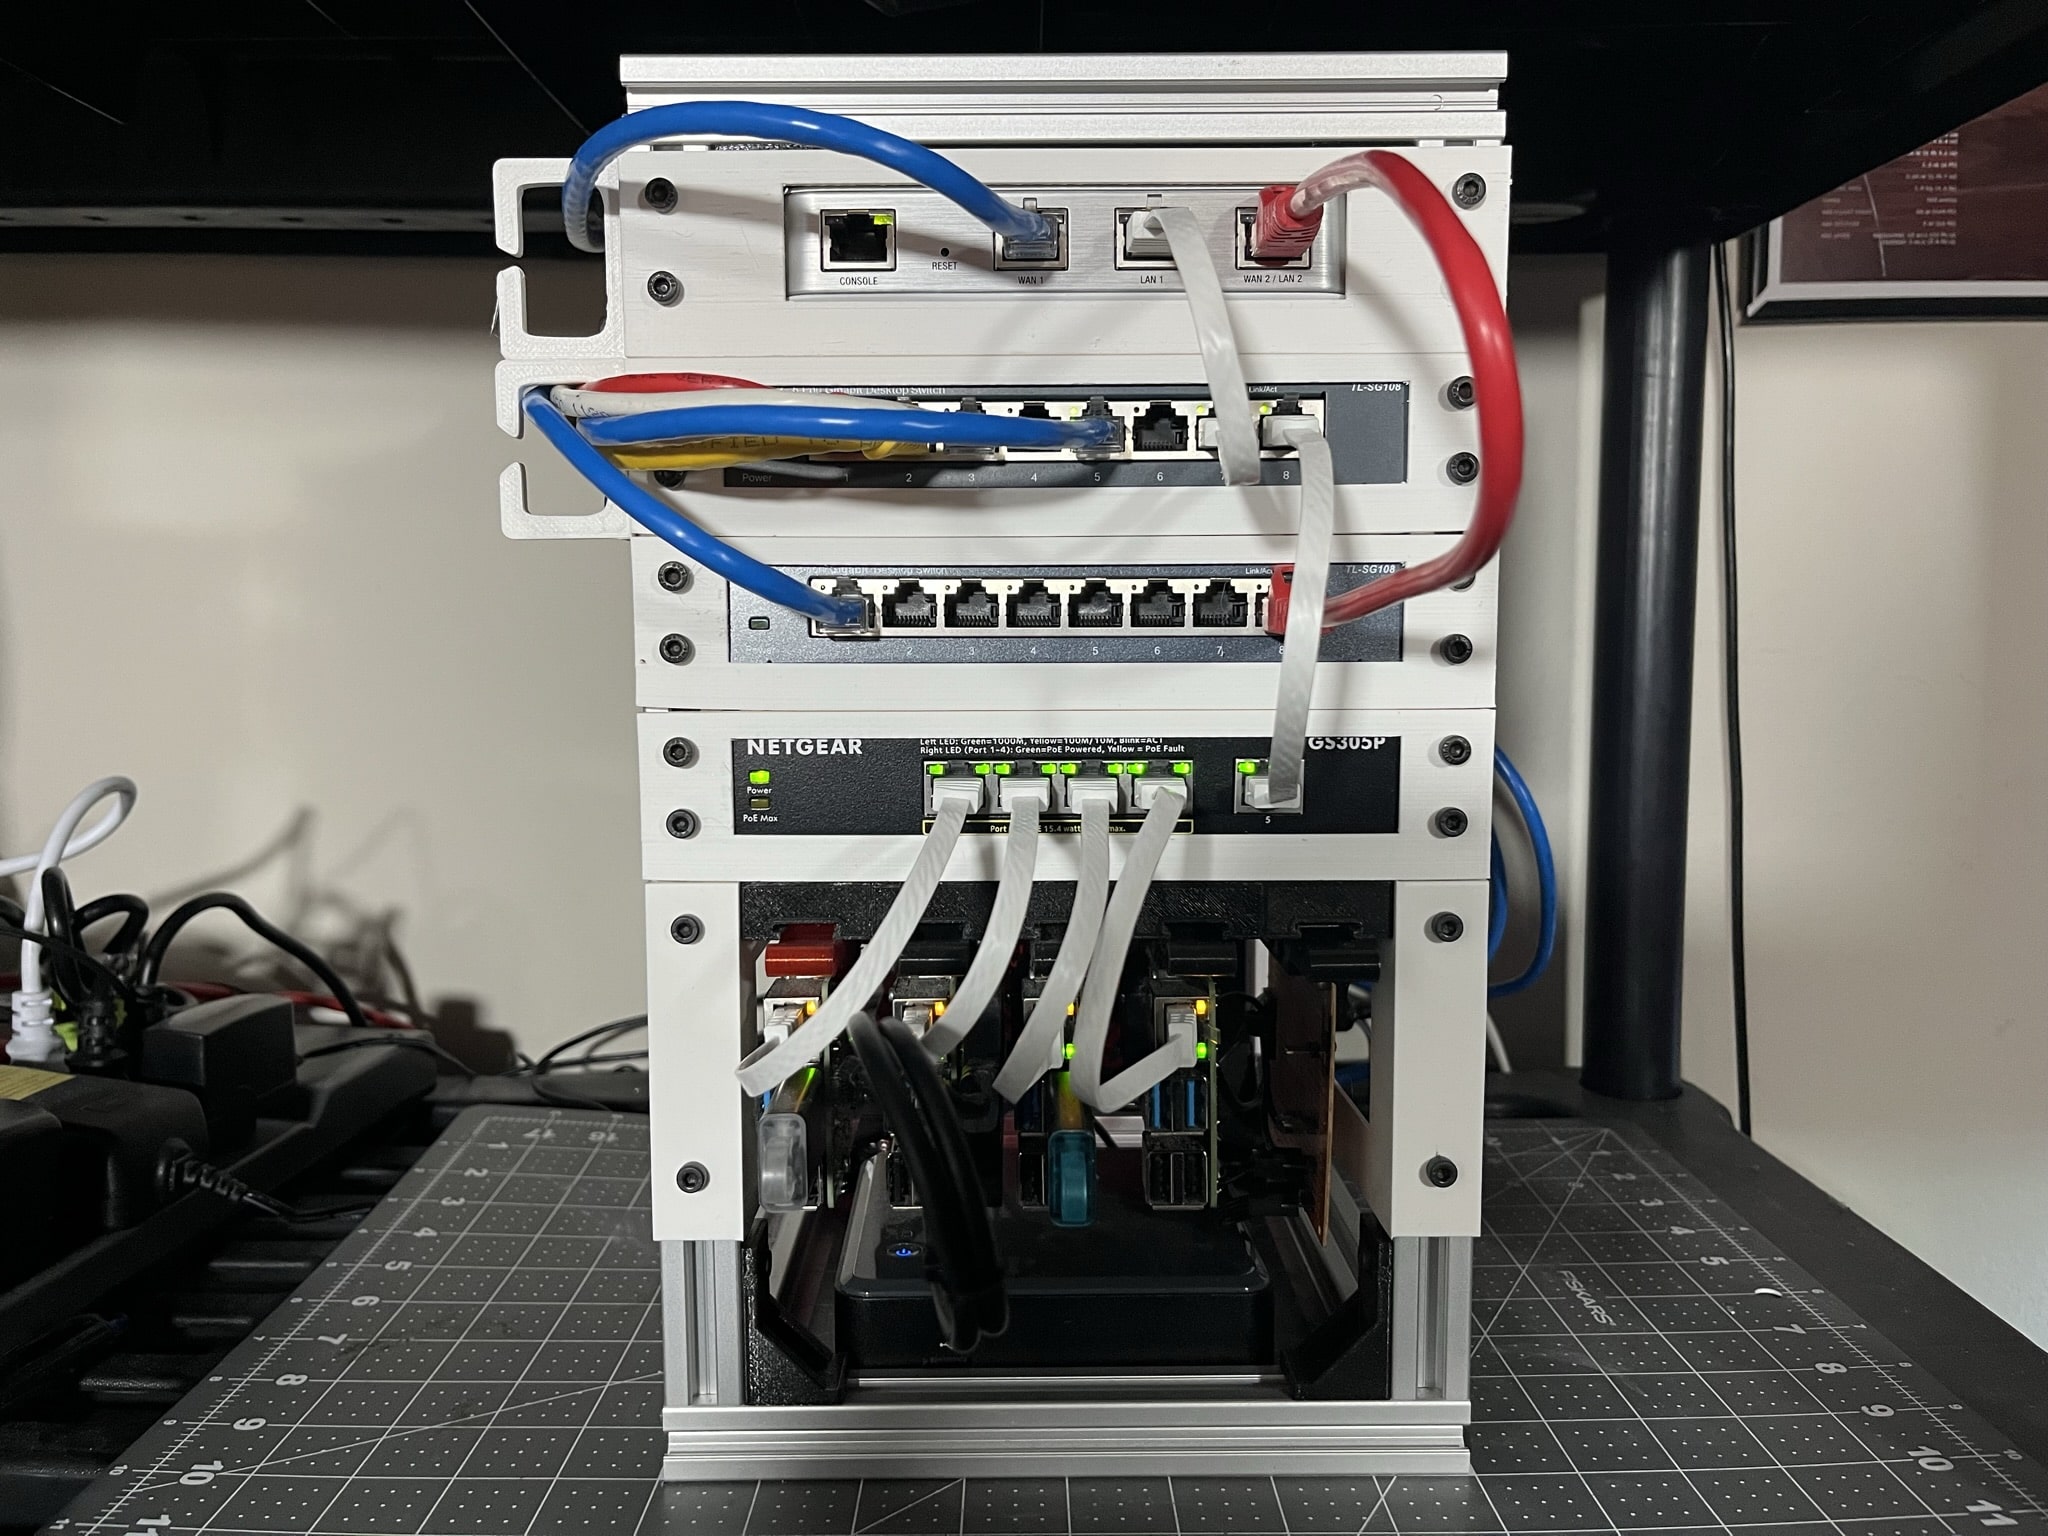
After re-printing the newly re-enforced mounts, I gave it another couple months to make sure that the new designs would not sag. The new designs have been in use now for 3 months and they are still holding strong.
For the final build, I ended up designing some wire management clips, and added a second switch to the rack that is a second LAN that is specifically going to be used for a Cybersecurity lab that I am building. In the months that I had it in the background of my meetings, it always sparked some good conversation, especially during a few interviews.
Overall I am super happy with how it turned out, and even when I am back in a spot where I can break out the 24U rack, I think will still keep this one around.
Parts List #
- 200mm 2020 Aluminum Extrusions x8 ~24$
- 300mm 2020 Aluminum Extrusions x4 ~15$
- M3 Assortment Screws
- M3 T Nuts
- Unifi Security Gateway (USG)
- NETGEAR 8 port unmanaged switch (GS308)
- NETGEAR 4+1 port PoE switch (GS305P)